Ingredients
Scale
- 2 ½ cups all-purpose flour (you can substitute with gluten-free flour blend for a gluten-free option)
- 2 tablespoons unsweetened cocoa powder
- ½ teaspoon baking powder
- ¼ teaspoon salt
- ¾ cup unsalted butter, softened
- 1 cup granulated sugar
- 1 large egg
- 1 teaspoon vanilla extract
- 1 tablespoon red food coloring (or beet juice powder for a natural alternative)
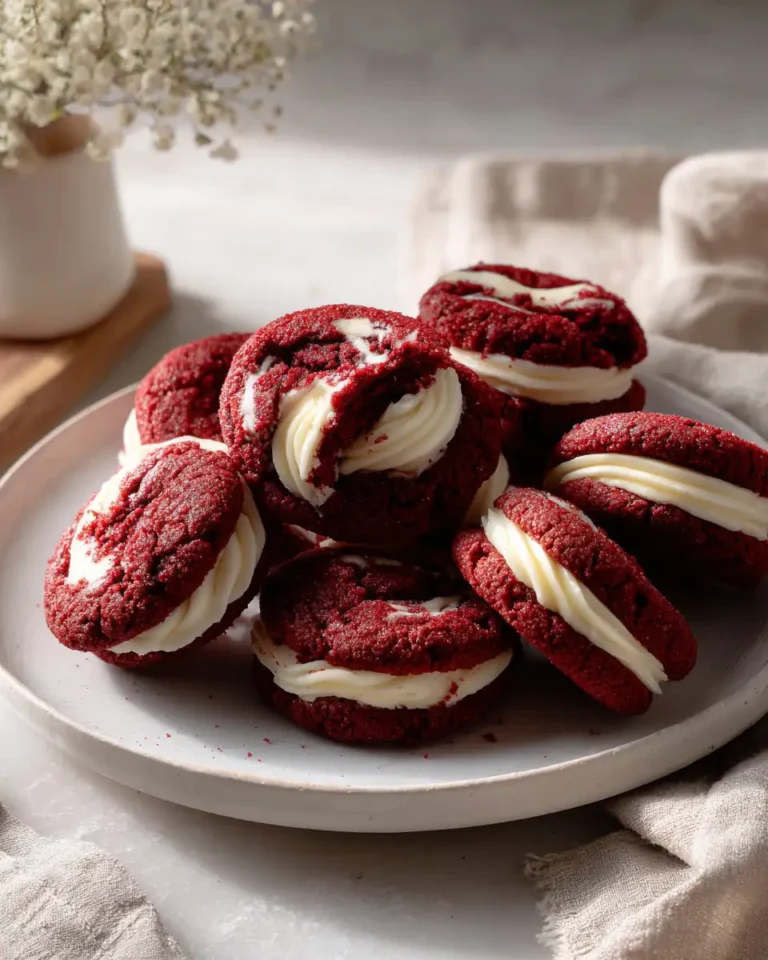
- 8 oz cream cheese, softened
- ½ cup powdered sugar
- 1 teaspoon vanilla extract (for cream cheese filling)
Substitution Tip: When I made these once for a friend who avoids dairy, I swapped the cream cheese for a vegan cream cheese alternative, and the cookies were just as dreamy. Also, if you prefer a less sweet filling, feel free to reduce the powdered sugar in the cream cheese mixture.
Instructions
- Preheat your oven to 350°F (175°C) and line two baking sheets with parchment paper. This is one of those steps that Mama Lou always emphasized—prepping the workspace makes everything smoother.
- In a medium bowl, sift together the flour, cocoa powder, baking powder, and salt. Set aside. When I was younger, Ouma and I loved this part—sifting felt like magic dusting the kitchen with possibility.
- In a large mixing bowl, beat the softened butter and granulated sugar together until light and fluffy, about 3-4 minutes. This step is key for achieving that tender crumb I cherish.
- Add the egg, vanilla extract, and red food coloring to the butter mixture, beating until fully combined and the dough takes on a vibrant red hue.
- Gradually add the dry ingredients to the wet ingredients, mixing just until combined. Overmixing can make the cookies tough—remember, gentle is best.
- In a separate bowl, whip the cream cheese, powdered sugar, and vanilla extract together until smooth and creamy. This filling is the heart of the cookie, so take your time here.
- Scoop tablespoon-sized portions of dough and roll them into balls. Place them on your prepared baking sheets, spacing them about 2 inches apart.
- Using your thumb (or the back of a small spoon), gently press an indentation into the center of each cookie dough ball. Don’t go too deep—just enough to hold the cream cheese filling.
- Fill each thumbprint with about a teaspoon of the cream cheese mixture. I like to chill the filling briefly before scooping—it helps it hold its shape better in the oven.
- Bake in the preheated oven for 12-15 minutes, or until the cookie edges are set but the centers still look soft. The smell at this point always reminds me of Mama Lou’s kitchen—warm, inviting, and a little bit magical.
- Remove from the oven and let the cookies cool on the baking sheets for 5 minutes before transferring to a wire rack to cool completely. This pause is important to let the cream cheese filling set.
- Prep Time: 15 minutes
- Cook Time: 30 minutes
- Category: Main Dish
- Method: Cooking
- Cuisine: International