

There’s something about Red Velvet Thumbprint Cookies with Cream Cheese that instantly takes me back to cozy afternoons in Mama Lou’s kitchen. The warm scent of cocoa and vanilla swirling through the air, the gentle hum of my sister Ouma’s laughter as we carefully pressed our little fingerprints into the dough—it’s more than just a treat. These cookies carry the sweetness of family moments, the kind of love that’s baked into every bite. Today, I’m excited to share this recipe with you, hoping it brings a little bit of that heartwarming tradition right to your home.
Table of Contents
Why You’ll Love This Red Velvet Thumbprint Cookies with Cream Cheese
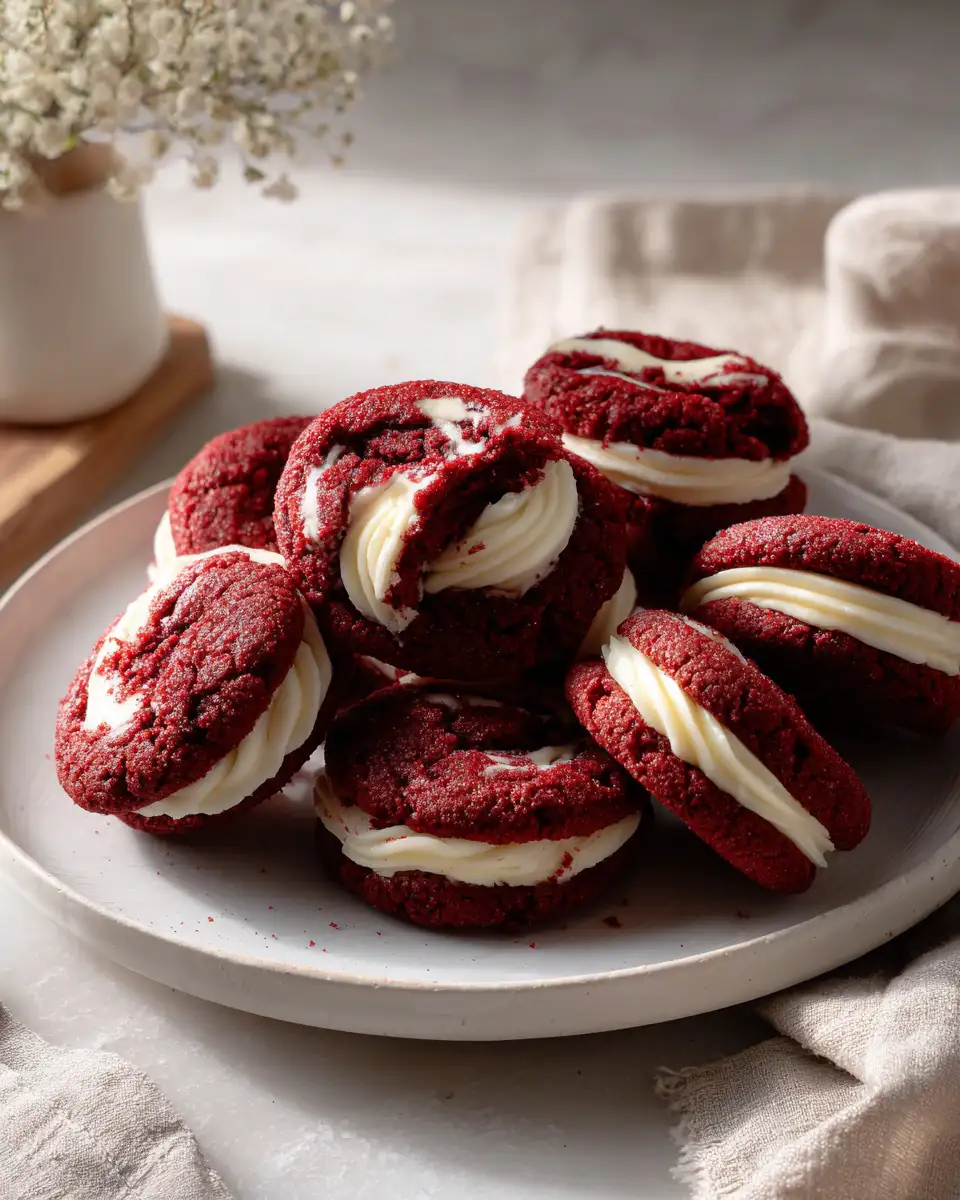
Red Velvet Thumbprint Cookies with Cream Cheese are a perfect marriage of tender, cocoa-infused cookie dough and the creamy richness of a luscious cream cheese filling. What I love most about these cookies is how they balance a subtle chocolate flavor with just the right tang from the cream cheese. They’re soft but hold their shape beautifully, making them as delightful to look at as they are to eat.
Growing up, Mama Lou’s kitchen was my sanctuary. She had this way of turning simple ingredients into magic, especially when she baked. I remember one chilly winter afternoon when I was about eight, Ouma and I sat on stools by the counter, eagerly waiting to press our thumbprints into freshly rolled dough. Mama Lou’s hands guided ours, and the cookie tray that came out of the oven smelled like pure comfort. Those moments, filled with laughter and flour-dusted hands, made me realize that food is more than fuel—it’s connection.
These cookies are a celebration of that connection. They’re perfect for family gatherings, holidays, or just a quiet moment with a cup of tea. Whether you’re making them with your kids, like I did with Ouma, or baking solo to treat yourself, they promise to bring warmth and joy to your kitchen.
Ingredients You’ll Need for This Red Velvet Thumbprint Cookies with Cream Cheese

- 2 ½ cups all-purpose flour (you can substitute with gluten-free flour blend for a gluten-free option)
- 2 tablespoons unsweetened cocoa powder
- ½ teaspoon baking powder
- ¼ teaspoon salt
- ¾ cup unsalted butter, softened
- 1 cup granulated sugar
- 1 large egg
- 1 teaspoon vanilla extract
- 1 tablespoon red food coloring (or beet juice powder for a natural alternative)
- 8 oz cream cheese, softened
- ½ cup powdered sugar
- 1 teaspoon vanilla extract (for cream cheese filling)
Substitution Tip: When I made these once for a friend who avoids dairy, I swapped the cream cheese for a vegan cream cheese alternative, and the cookies were just as dreamy. Also, if you prefer a less sweet filling, feel free to reduce the powdered sugar in the cream cheese mixture.
Nutrition Facts
- Calories: Approximately 180 per cookie
- Protein: 3g
- Fat: 9g
- Carbohydrates: 22g
- Fiber: 1g
- Sugar: 14g
- Sodium: 90mg
These values are based on a batch of 24 cookies. Keep in mind that using alternative ingredients or adjusting sugar content will affect the nutrition. Learn more: Irresistible Pumpkin Cream Cheese Bundt Cake Recipe You Need to Try
Print
Irresistible Red Velvet Thumbprint Cookies with Cream Cheese Filling
Learn how to make delicious Red Velvet Thumbprint Cookies with Cream Cheese. Easy recipe with step-by-step instructions.
- Total Time: 45 minutes
- Yield: 4 servings 1x
Ingredients
- 2 ½ cups all-purpose flour (you can substitute with gluten-free flour blend for a gluten-free option)
- 2 tablespoons unsweetened cocoa powder
- ½ teaspoon baking powder
- ¼ teaspoon salt
- ¾ cup unsalted butter, softened
- 1 cup granulated sugar
- 1 large egg
- 1 teaspoon vanilla extract
- 1 tablespoon red food coloring (or beet juice powder for a natural alternative)
- 8 oz cream cheese, softened
- ½ cup powdered sugar
- 1 teaspoon vanilla extract (for cream cheese filling)
Substitution Tip: When I made these once for a friend who avoids dairy, I swapped the cream cheese for a vegan cream cheese alternative, and the cookies were just as dreamy. Also, if you prefer a less sweet filling, feel free to reduce the powdered sugar in the cream cheese mixture.
Instructions
- Preheat your oven to 350°F (175°C) and line two baking sheets with parchment paper. This is one of those steps that Mama Lou always emphasized—prepping the workspace makes everything smoother.
- In a medium bowl, sift together the flour, cocoa powder, baking powder, and salt. Set aside. When I was younger, Ouma and I loved this part—sifting felt like magic dusting the kitchen with possibility.
- In a large mixing bowl, beat the softened butter and granulated sugar together until light and fluffy, about 3-4 minutes. This step is key for achieving that tender crumb I cherish.
- Add the egg, vanilla extract, and red food coloring to the butter mixture, beating until fully combined and the dough takes on a vibrant red hue.
- Gradually add the dry ingredients to the wet ingredients, mixing just until combined. Overmixing can make the cookies tough—remember, gentle is best.
- In a separate bowl, whip the cream cheese, powdered sugar, and vanilla extract together until smooth and creamy. This filling is the heart of the cookie, so take your time here.
- Scoop tablespoon-sized portions of dough and roll them into balls. Place them on your prepared baking sheets, spacing them about 2 inches apart.
- Using your thumb (or the back of a small spoon), gently press an indentation into the center of each cookie dough ball. Don’t go too deep—just enough to hold the cream cheese filling.
- Fill each thumbprint with about a teaspoon of the cream cheese mixture. I like to chill the filling briefly before scooping—it helps it hold its shape better in the oven.
- Bake in the preheated oven for 12-15 minutes, or until the cookie edges are set but the centers still look soft. The smell at this point always reminds me of Mama Lou’s kitchen—warm, inviting, and a little bit magical.
- Remove from the oven and let the cookies cool on the baking sheets for 5 minutes before transferring to a wire rack to cool completely. This pause is important to let the cream cheese filling set.
- Prep Time: 15 minutes
- Cook Time: 30 minutes
- Category: Main Dish
- Method: Cooking
- Cuisine: International
Steps to Create Your Red Velvet Thumbprint Cookies with Cream Cheese
- Preheat your oven to 350°F (175°C) and line two baking sheets with parchment paper. This is one of those steps that Mama Lou always emphasized—prepping the workspace makes everything smoother.
- In a medium bowl, sift together the flour, cocoa powder, baking powder, and salt. Set aside. When I was younger, Ouma and I loved this part—sifting felt like magic dusting the kitchen with possibility.
- In a large mixing bowl, beat the softened butter and granulated sugar together until light and fluffy, about 3-4 minutes. This step is key for achieving that tender crumb I cherish.
- Add the egg, vanilla extract, and red food coloring to the butter mixture, beating until fully combined and the dough takes on a vibrant red hue.
- Gradually add the dry ingredients to the wet ingredients, mixing just until combined. Overmixing can make the cookies tough—remember, gentle is best.
- In a separate bowl, whip the cream cheese, powdered sugar, and vanilla extract together until smooth and creamy. This filling is the heart of the cookie, so take your time here.
- Scoop tablespoon-sized portions of dough and roll them into balls. Place them on your prepared baking sheets, spacing them about 2 inches apart.
- Using your thumb (or the back of a small spoon), gently press an indentation into the center of each cookie dough ball. Don’t go too deep—just enough to hold the cream cheese filling.
- Fill each thumbprint with about a teaspoon of the cream cheese mixture. I like to chill the filling briefly before scooping—it helps it hold its shape better in the oven.
- Bake in the preheated oven for 12-15 minutes, or until the cookie edges are set but the centers still look soft. The smell at this point always reminds me of Mama Lou’s kitchen—warm, inviting, and a little bit magical.
- Remove from the oven and let the cookies cool on the baking sheets for 5 minutes before transferring to a wire rack to cool completely. This pause is important to let the cream cheese filling set.
Tips for Making the Best Red Velvet Thumbprint Cookies with Cream Cheese
Over the years, I’ve learned that a few small details can make a world of difference in your cookies. Here are some tips I’ve gathered from my time baking alongside Mama Lou and Ouma:
- Use room temperature ingredients: Softened butter and cream cheese blend better and create a smoother dough and filling.
- Don’t skip sifting: It helps distribute your cocoa and flour evenly, giving you that tender texture.
- Press gently: When making the thumbprint, be gentle but firm enough to create a well for the filling without cracking the dough.
- Chill the cream cheese filling: This helps it stay put during baking and gives a nice contrast against the soft cookie.
- Watch your bake time: Underbaking slightly keeps the cookies soft and chewy, just like Mama Lou’s.
One of my fondest memories is the time Ouma accidentally pressed her thumbprint too deep, and the filling spilled over during baking—it made for a messy tray, but also lots of laughter and an impromptu “creative” batch that still tasted amazing!
Serving Suggestions and Pairings

These Red Velvet Thumbprint Cookies with Cream Cheese are a versatile treat that pairs beautifully with a variety of drinks and occasions. Here are a few ways I love to serve them:
- With a warm mug of spiced chai or cinnamon tea, perfect for an afternoon pause.
- Alongside a glass of cold milk—there’s something timeless about this classic duo.
- As part of a festive dessert platter, garnished with fresh berries or edible flowers to brighten the presentation.
- Wrapped in a pretty box, these cookies make heartfelt gifts that carry the warmth of homemade love—a tradition I cherish passing down from Mama Lou.
I remember serving these at a small holiday gathering once, and a friend remarked how the cream cheese filling reminded her of a cheesecake—all the comfort of a cookie with the elegance of a special dessert.
Storage and Reheating Tips
Like most homemade cookies, these are best enjoyed fresh, but I understand life gets busy! Here’s how to keep your Red Velvet Thumbprint Cookies with Cream Cheese at their best:
- Storage: Store cookies in an airtight container in the refrigerator for up to 5 days. The cream cheese filling needs to stay chilled for safety and freshness.
- Freezing: You can freeze the cookies without the cream cheese filling for up to 3 months. Freeze the filling separately in an airtight container. Thaw both in the fridge, then assemble before serving.
- Reheating: Bring refrigerated cookies to room temperature before serving. If you want them a bit warm, gently heat in a low oven (300°F) for 5 minutes, but avoid microwaving as it can melt the filling unevenly.
When I bake big batches, I often freeze unfilled dough balls so I can pop them into the oven fresh whenever the craving hits. It’s a little trick Mama Lou taught me to keep the magic alive even on busy days.
Frequently Asked Questions
What are the main ingredients for Red Velvet Thumbprint Cookies with Cream Cheese?
The main ingredients for Red Velvet Thumbprint Cookies with Cream Cheese include the items listed in our ingredients section above. Each ingredient plays a crucial role in achieving the perfect flavor and texture.
How long does it take to make Red Velvet Thumbprint Cookies with Cream Cheese?
The total time to make Red Velvet Thumbprint Cookies with Cream Cheese includes both preparation and cooking time. Check the recipe card above for exact timing details.
Can I make Red Velvet Thumbprint Cookies with Cream Cheese ahead of time?
Yes, Red Velvet Thumbprint Cookies with Cream Cheese can often be prepared in advance. Store it properly in an airtight container in the refrigerator and consume within the recommended timeframe.
What can I serve with Red Velvet Thumbprint Cookies with Cream Cheese?
Red Velvet Thumbprint Cookies with Cream Cheese pairs well with various sides and accompaniments. Consider the serving suggestions mentioned in the recipe for the best dining experience.
Is Red Velvet Thumbprint Cookies with Cream Cheese suitable for special diets?
Depending on the ingredients used, Red Velvet Thumbprint Cookies with Cream Cheese may be adapted for various dietary needs. Check the ingredients list and consider substitutions as needed for your dietary requirements.
Final Thoughts
Making Red Velvet Thumbprint Cookies with Cream Cheese is more than a recipe to me—it’s a way to keep cherished family traditions alive. Every time I bake these, I feel a tender connection to Mama Lou’s kitchen and the laughter-filled afternoons spent with Ouma. The rich red dough, the creamy filling, and the warmth they bring remind me that food is truly where love resides.
If you decide to make these cookies, I hope they become a part of your family’s story too. Whether you’re baking with children, surprising a loved one, or simply treating yourself, these cookies offer more than sweetness—they offer memories in every bite.
“The kitchen was Mama Lou’s sanctuary, and through her hands, I learned that the most important ingredient is always love.”


