Ingredients
Scale
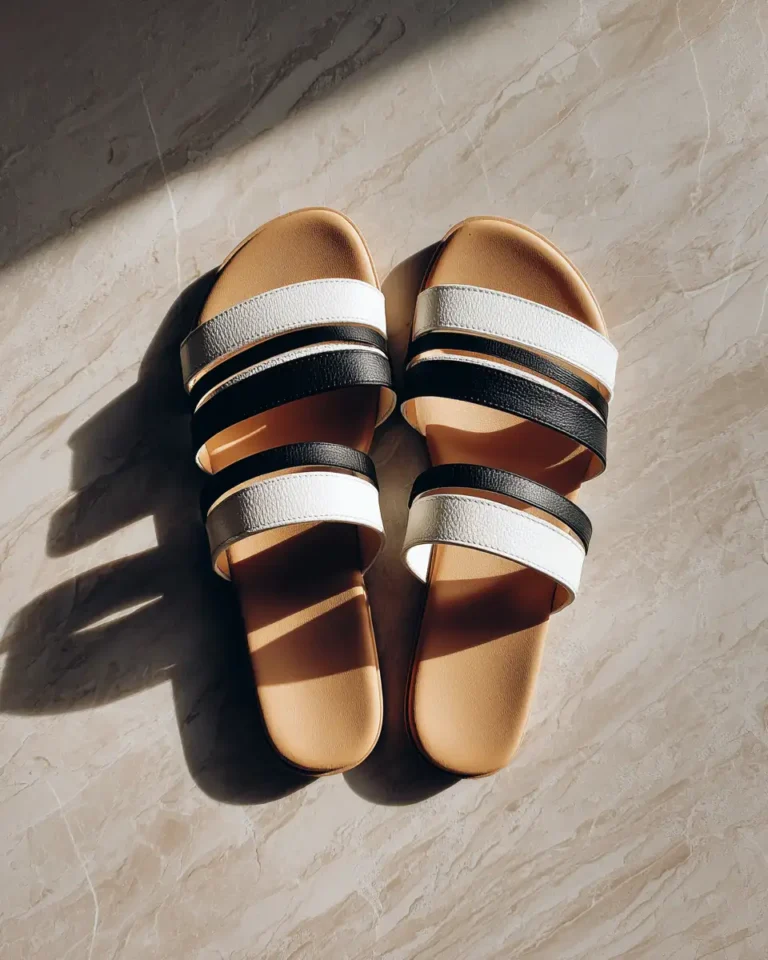
- 1 pair of genuine leather straps in three contrasting colors (e.g., mustard yellow, teal blue, and burnt orange)
- 1 cushioned sole base, preferably cork or memory foam, approximately 1/2 inch thick
- Durable rubber outsole for grip and longevity
- Metal buckle closures with a vintage brass finish
- Strong nylon thread for stitching
- Leather conditioner or polish for finishing touches
- Optional: Decorative studs or vintage-inspired charms
If you’re looking for a vegan alternative, consider faux leather straps made from sustainable materials like cork or mushroom leather. Just keep an eye out for softness and flexibility—it’s key to comfort!
Instructions
- Start by selecting your leather straps. Choose three colors that complement each other but have enough contrast to create that classic vintage color block effect. I love how mustard yellow brings warmth, while teal blue adds a fresh pop—just like the quilts Mama Lou made.
- Cut the straps to fit comfortably across your foot. Take measurements carefully; I learned from Ouma that a snug fit around the midfoot and ankle is key to comfort and style. Use a leather punch to create holes for the buckle adjustments.
- Prepare the cushioned sole base. If working with cork, lightly sand edges for smoothness. Attach the leather straps to the sole using strong nylon thread, stitching securely but neatly—this is where patience pays off.
- Attach the durable rubber outsole to the bottom of the sole base with a strong adhesive, ensuring even coverage for long-lasting wear.
- Attach the vintage brass-finish buckles to the ankle straps. These little details make all the difference; I remember Mama Lou’s love for small accents that brought her creations to life.
- Optional: Sew or glue decorative studs or charms onto the straps for a personalized vintage touch. Ouma once added tiny brass charms to her sandals, and I still remember how they jingled with every step.
- Finish by conditioning the leather straps with a quality leather conditioner or polish to protect and enhance their rich colors.
- Let your sandals rest for 24 hours before wearing to ensure all adhesives and finishes set properly.
- Prep Time: 15 minutes
- Cook Time: 30 minutes
- Category: Main Dish
- Method: Cooking
- Cuisine: International