Ingredients
Scale
- 1 can (8 oz) refrigerated crescent roll dough
- 4 ounces cream cheese, softened
- 2 tablespoons powdered sugar
- 1 teaspoon vanilla extract
- 1/2 cup mini chocolate chips or raisins (for eyes)
- 1 tablespoon melted butter (for brushing)
- Pink or red edible food coloring or food-safe marker (for nose)
- Optional: 2 tablespoons finely chopped strawberries or jam (for a fruity twist)
- Substitution suggestion: Use puff pastry sheets instead of crescent dough for a flakier texture
Instructions
- Preheat your oven to 375°F (190°C) and line a baking sheet with parchment paper. I always remember how Mama Lou’s oven seemed to have its own personality, so keep an eye on your bites—they bake quickly!
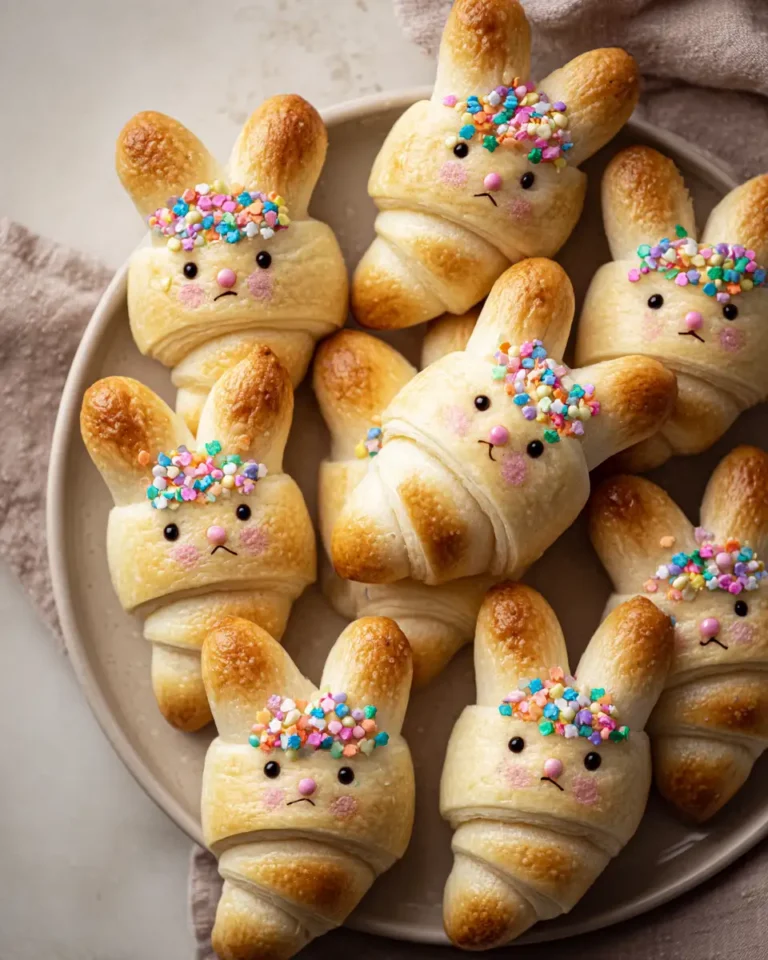
- Unroll the crescent roll dough and separate it into 8 triangles as indicated on the package.
- In a small bowl, mix the softened cream cheese, powdered sugar, and vanilla extract until smooth and creamy. This cream cheese filling is something Ouma and I loved to sneak a taste of before assembling the bites.
- Place about a teaspoon of the cream cheese mixture near the wide end of each triangle. If you’re using strawberries or jam, add a small dollop on top of the cream cheese for a lovely fruity surprise.
- Roll each triangle from the wide end toward the point, forming a crescent shape. As you roll, gently pinch the dough to create “ears” at the top, shaping the bunny’s head. This is where your creativity shines—when I make these with my nieces, they love making each bunny unique.
- Place the formed bites on the prepared baking sheet, spacing them about 1 inch apart.
- Brush each bite lightly with melted butter. This simple step gives the dough a golden, buttery finish that Mama Lou swore by.
- Bake for 12-14 minutes or until golden brown and puffed. Keep an eye on them—once the kitchen fills with that warm, inviting smell, you know they’re almost ready.
- Remove from the oven and let cool slightly. While still warm, press two mini chocolate chips or raisins onto each bite for the eyes.
- Use a small brush or food-safe marker to add a tiny pink nose to each bunny. This final detail always makes me smile because it’s the little touches that bring these bites to life.
- Prep Time: 15 minutes
- Cook Time: 30 minutes
- Category: Main Dish
- Method: Cooking
- Cuisine: International