

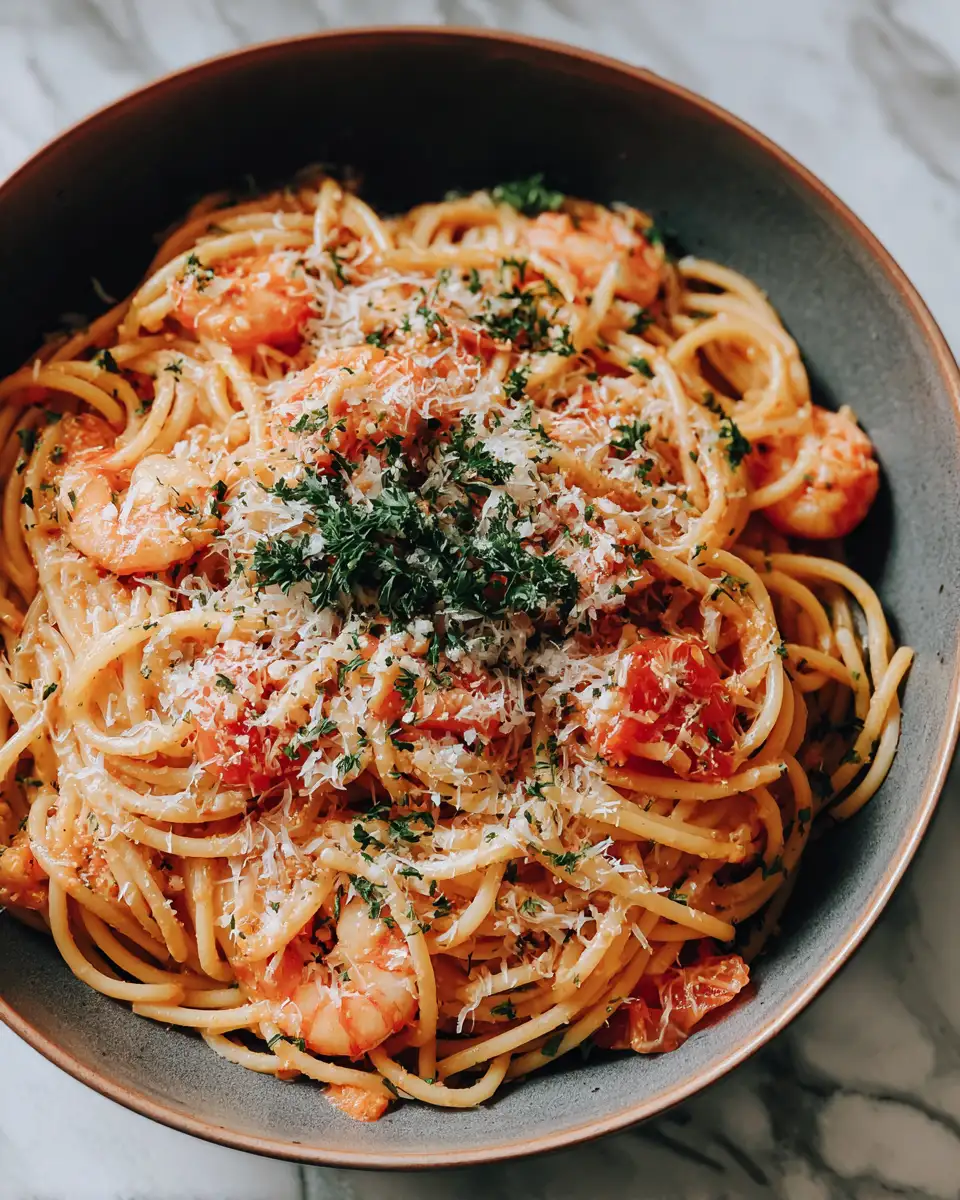
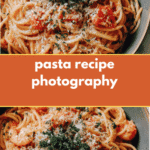
There’s something truly magical about pasta recipe photography that captures not just food, but memories, warmth, and family traditions. Every time I set out to photograph a new pasta dish, I’m transported back to Mama Lou’s kitchen, where the air was always thick with the scent of simmering tomato sauce and freshly grated Parmigiano-Reggiano. Those moments with Mama Lou, and later with my sister Ouma, taught me that pasta isn’t just food—it’s a celebration of connection. Today, I want to share a recipe that’s close to my heart, along with tips on how to bring that same soul and beauty to your pasta recipe photography.
Table of Contents
Why You’ll Love This pasta recipe photography
When I think about pasta recipe photography, I recall the afternoons spent with Mama Lou as she twisted strands of spaghetti by hand, the golden sunlight streaming through the window. Capturing the perfect shot isn’t just about technical skill; it’s about honoring the story behind the dish. This recipe embodies that spirit with its simple yet soulful ingredients, making it a joy to cook, savor, and photograph.
You’ll love this pasta recipe because it’s approachable, comforting, and versatile. It’s a dish that invites you to slow down, just as Mama Lou taught me, and appreciate the little details—the glistening sauce, the tender noodles, the sprinkle of fresh basil. And from a photography perspective, the colors and textures practically beg to be captured in soft, natural light, perfect for those who want to tell a story with their food images.
Ingredients You’ll Need for This pasta recipe photography

- 12 ounces of dried spaghetti or your favorite pasta shape (I love using pappardelle when cooking with Ouma on weekends)
- 3 tablespoons extra virgin olive oil
- 4 cloves garlic, thinly sliced
- 1/2 teaspoon red pepper flakes (optional, but it adds a lovely warmth)
- 1 can (14 ounces) crushed San Marzano tomatoes – Mama Lou swore by San Marzano for the perfect sauce
- 1 teaspoon sea salt
- 1/2 teaspoon freshly ground black pepper
- 1 teaspoon dried oregano
- 1/4 cup fresh basil leaves, torn
- 1/4 cup freshly grated Parmigiano-Reggiano cheese, plus extra for garnish
- 1 tablespoon unsalted butter (optional, but adds silkiness to the sauce)
Substitution suggestions: If you don’t have San Marzano tomatoes, any good-quality canned crushed tomatoes will do. For a dairy-free version, omit the butter and cheese, or try a sprinkle of nutritional yeast for a cheesy flavor.
Nutrition Facts
- Calories: 420 per serving (serves 4)
- Protein: 12g
- Fat: 14g (mostly from olive oil and cheese)
- Carbohydrates: 58g
- Fiber: 5g
- Sugar: 7g (from the tomatoes)
- Sodium: 620mg

Mastering Pasta Recipe Photography Tips to Make Your Dishes Look Irresistible
Learn how to make delicious pasta recipe photography. Easy recipe with step-by-step instructions.
- Total Time: 45 minutes
- Yield: 4 servings 1x
Ingredients
- 12 ounces of dried spaghetti or your favorite pasta shape (I love using pappardelle when cooking with Ouma on weekends)
- 3 tablespoons extra virgin olive oil
- 4 cloves garlic, thinly sliced
- 1/2 teaspoon red pepper flakes (optional, but it adds a lovely warmth)
- 1 can (14 ounces) crushed San Marzano tomatoes – Mama Lou swore by San Marzano for the perfect sauce
- 1 teaspoon sea salt
- 1/2 teaspoon freshly ground black pepper
- 1 teaspoon dried oregano
- 1/4 cup fresh basil leaves, torn
- 1/4 cup freshly grated Parmigiano-Reggiano cheese, plus extra for garnish
- 1 tablespoon unsalted butter (optional, but adds silkiness to the sauce)
Substitution suggestions: If you don’t have San Marzano tomatoes, any good-quality canned crushed tomatoes will do. For a dairy-free version, omit the butter and cheese, or try a sprinkle of nutritional yeast for a cheesy flavor.
Instructions
- Bring a large pot of salted water to a rolling boil. Add the pasta and cook according to package instructions until al dente, usually about 8-10 minutes. Mama Lou always reminded me, “Don’t overcook it, Sofia—the pasta should have a little bite.”
- While the pasta cooks, heat the olive oil in a large skillet over medium heat. Add the sliced garlic and red pepper flakes. Cook gently, stirring often, until the garlic is fragrant and just turning golden—about 2 minutes. Don’t let it burn, or the sauce will taste bitter.
- Pour in the crushed tomatoes, then add salt, pepper, and oregano. Stir to combine and let the sauce simmer on low heat for 10-15 minutes. I like to stir gently, remembering how Mama Lou would hum softly as her sauce bubbled away.
- Once the pasta is ready, reserve about 1/2 cup of the pasta water and then drain the pasta.
- Add the drained pasta to the skillet with the tomato sauce. Toss to coat evenly, adding a splash of reserved pasta water to help the sauce cling beautifully to the noodles. This trick always made the dish feel more homemade and luxurious, something Ouma and I loved to showcase in our photos by letting the sauce glisten.
- Turn off the heat and stir in the butter and fresh basil. The butter melts slowly, adding richness, while the basil brings a fresh, aromatic finish.
- Serve immediately, topped with grated Parmigiano-Reggiano. When plating, I always remember Mama Lou’s words: “Beauty on the plate feeds the soul.” This is your moment to shine in your pasta recipe photography—capture those little details!
- Prep Time: 15 minutes
- Cook Time: 30 minutes
- Category: Main Dish
- Method: Cooking
- Cuisine: International
Steps to Create Your pasta recipe photography
- Bring a large pot of salted water to a rolling boil. Add the pasta and cook according to package instructions until al dente, usually about 8-10 minutes. Mama Lou always reminded me, “Don’t overcook it, Sofia—the pasta should have a little bite.”
- While the pasta cooks, heat the olive oil in a large skillet over medium heat. Add the sliced garlic and red pepper flakes. Cook gently, stirring often, until the garlic is fragrant and just turning golden—about 2 minutes. Don’t let it burn, or the sauce will taste bitter.
- Pour in the crushed tomatoes, then add salt, pepper, and oregano. Stir to combine and let the sauce simmer on low heat for 10-15 minutes. I like to stir gently, remembering how Mama Lou would hum softly as her sauce bubbled away.
- Once the pasta is ready, reserve about 1/2 cup of the pasta water and then drain the pasta.
- Add the drained pasta to the skillet with the tomato sauce. Toss to coat evenly, adding a splash of reserved pasta water to help the sauce cling beautifully to the noodles. This trick always made the dish feel more homemade and luxurious, something Ouma and I loved to showcase in our photos by letting the sauce glisten.
- Turn off the heat and stir in the butter and fresh basil. The butter melts slowly, adding richness, while the basil brings a fresh, aromatic finish.
- Serve immediately, topped with grated Parmigiano-Reggiano. When plating, I always remember Mama Lou’s words: “Beauty on the plate feeds the soul.” This is your moment to shine in your pasta recipe photography—capture those little details!
Tips for Making the Best pasta recipe photography
Photography, like cooking, is all about patience and attention to detail. When Ouma and I sat down with our cameras, we noticed how the natural light in Mama Lou’s kitchen made the pasta look golden and inviting. Here are a few tips that I’ve learned from those cherished afternoons: Learn more: Irresistible Kalbasa Pasta Recipe That Will Spice Up Your Dinner Table
- Use natural light whenever possible. Morning or late afternoon sun creates a soft glow that enhances the colors and textures of the pasta.
- Keep your styling simple. A rustic wooden table, a linen napkin, and a sprinkle of Parmesan can tell a story without overwhelming the frame.
- Show the sauce’s texture—capture the steam rising, the glossy sheen on the noodles, and a fork twirling strands to add movement and life.
- Don’t be afraid to get close. Macro shots highlighting garlic slices, basil leaves, or droplets of olive oil bring intimacy to the image.
- Include personal touches. A hand reaching for the plate or a glimpse of your sister Ouma’s laughter in the background adds warmth—and that’s the kind of story Mama Lou loved to see.
Serving Suggestions and Pairings

This pasta is a wonderful centerpiece for a simple, heartfelt meal. I fondly recall sharing plates like this with Ouma and Mama Lou, accompanied by dishes that spoke of home and comfort.
- A crisp green salad with lemon vinaigrette balances the richness of the sauce.
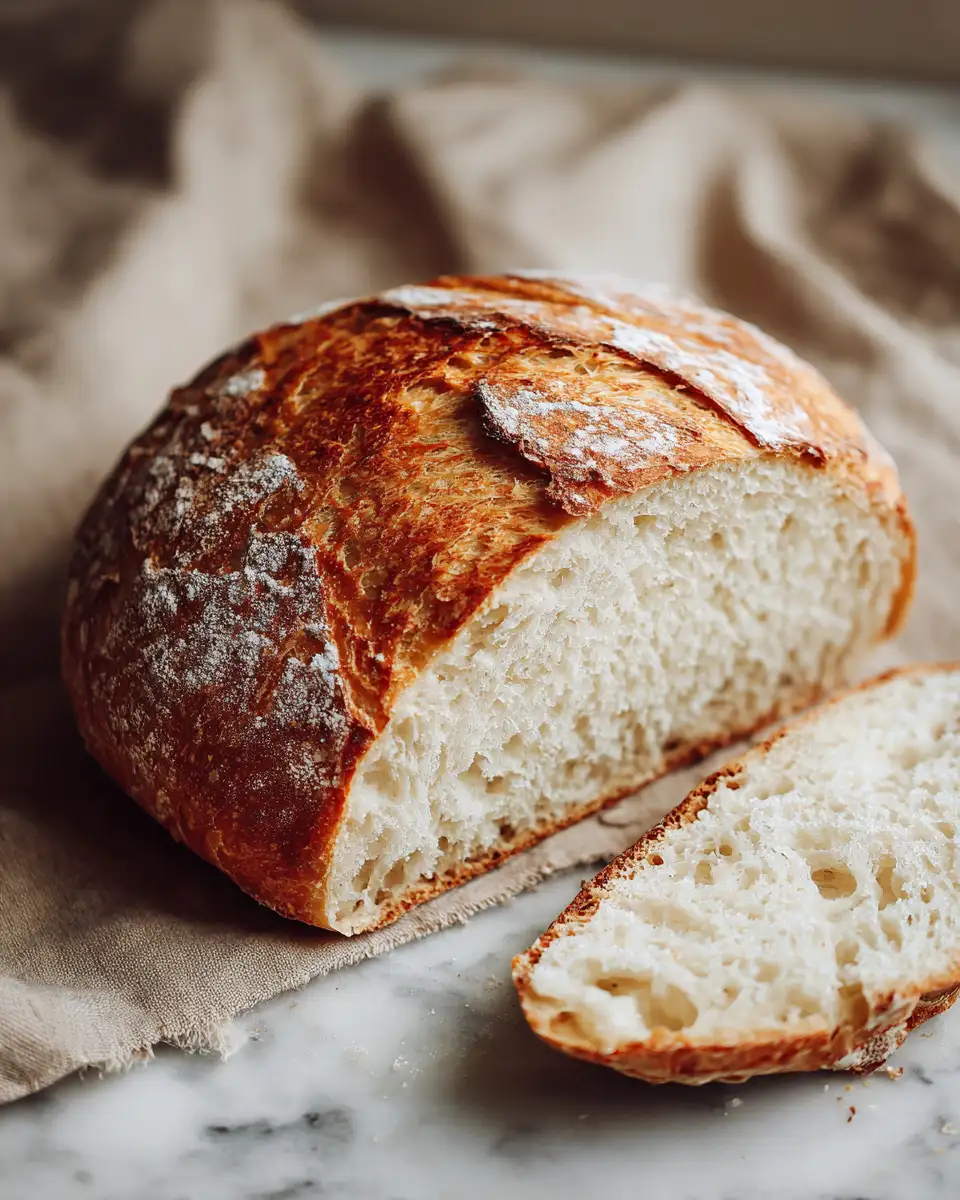
- Crusty bread, perfect for soaking up every last drop of tomato sauce.
- A glass of Chianti or a light Italian white wine complements the flavors beautifully.
- For dessert, Mama Lou’s homemade ricotta cheesecake or a simple affogato keeps the meal sweet and memorable.
Storage and Reheating Tips
Leftover pasta can be a tricky thing, especially when you want to keep that fresh-from-the-kitchen texture and flavor. Here’s how I handle it, drawing on Mama Lou’s wisdom:
- Store pasta and sauce separately in airtight containers in the refrigerator for up to 3 days.
- When reheating, warm the sauce gently in a skillet and add the pasta to it, stirring in a splash of water or broth to revive the sauce’s silkiness.
- Avoid microwaving pasta straight from the fridge without adding moisture—it tends to dry out and lose its charm.
- If freezing, only freeze the sauce. Thaw it slowly in the refrigerator before reheating and combining with freshly cooked pasta.
Frequently Asked Questions
What are the main ingredients for pasta recipe photography?
The main ingredients for pasta recipe photography include the items listed in our ingredients section above. Each ingredient plays a crucial role in achieving the perfect flavor and texture.
How long does it take to make pasta recipe photography?
The total time to make pasta recipe photography includes both preparation and cooking time. Check the recipe card above for exact timing details.
Can I make pasta recipe photography ahead of time?
Yes, pasta recipe photography can often be prepared in advance. Store it properly in an airtight container in the refrigerator and consume within the recommended timeframe.
What can I serve with pasta recipe photography?
pasta recipe photography pairs well with various sides and accompaniments. Consider the serving suggestions mentioned in the recipe for the best dining experience.
Is pasta recipe photography suitable for special diets?
Depending on the ingredients used, pasta recipe photography may be adapted for various dietary needs. Check the ingredients list and consider substitutions as needed for your dietary requirements.
Final Thoughts
Every pasta recipe photography session is more than just capturing food—it’s about preserving stories, family, and the little moments that make a meal special. When I look back on my time with Mama Lou and Ouma, I realize it’s these shared experiences that bring depth to my cooking and photography alike. This recipe is my tribute to that love, and I hope it inspires you to create, savor, and capture your own heartfelt moments around the table.
Remember, the best pasta isn’t just about perfect timing or ingredients—it’s about the joy you find in the process and the memories you make. So, gather your loved ones, heat up that sauce, and let your camera tell the story that your heart already knows.


