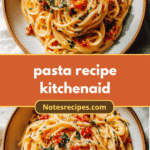
Ingredients
Scale
- 2 cups all-purpose flour (or “00” flour for a silkier dough)
- 3 large eggs, at room temperature
- 1 tablespoon olive oil, plus extra for coating
- 1/2 teaspoon fine sea salt
- Water, as needed (about 1-2 tablespoons)
If you want a gluten-free alternative, I recommend swapping the all-purpose flour for a blend of chickpea flour and rice flour, but keep in mind the texture will be different from traditional pasta. For a richer dough, try substituting one egg with an egg yolk, a trick Mama Lou taught me when making pasta for special family dinners.
Instructions
- Set up your KitchenAid stand mixer with the dough hook attachment. In the mixing bowl, combine the flour and salt, mixing briefly to distribute evenly.
- Crack the eggs into a small bowl, whisk gently, then pour into the flour mixture along with the olive oil.
- Turn the mixer on low speed, allowing the dough hook to slowly bring the ingredients together. If the dough feels too dry or crumbly, add water 1 tablespoon at a time until the dough forms a cohesive ball.
- Once the dough pulls away from the sides of the bowl and forms a smooth ball (about 3-4 minutes), remove it and wrap it tightly in plastic wrap. Let it rest at room temperature for at least 30 minutes. This step is key—Mama Lou always said, “The dough needs a nap before the work begins.”
- Attach the pasta roller to your KitchenAid. Divide the dough into 4 equal pieces to make it easier to work with.
- Set the roller to the widest setting (usually #1) and flatten the dough gently with your hands or a rolling pin to fit through the roller.
- Feed one piece of dough through the roller. Fold the dough in half and pass it through again. Repeat this folding and rolling 3-4 times to develop gluten for elasticity.
- Gradually reduce the roller setting by one notch each time, passing the dough through once at each setting until you reach the desired thickness (usually setting #6 or #7 for fettuccine or tagliatelle).
- Attach the pasta cutter on your KitchenAid and feed the rolled dough through to create your desired pasta shape.
- Lay the cut pasta on a floured surface or hang it on a drying rack for about 15 minutes before cooking.
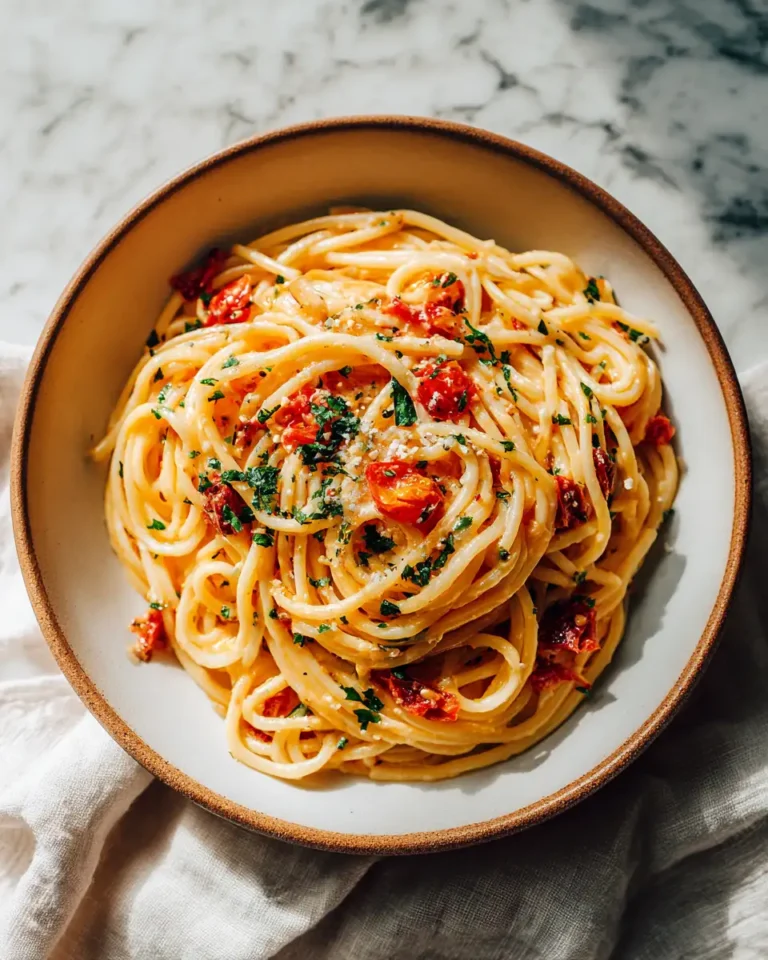
- Cook the pasta in a large pot of salted boiling water for 2-3 minutes or until al dente. Fresh pasta cooks much faster than dried!
- Drain the pasta, reserving a cup of pasta water to adjust your sauce consistency if needed.
One of my favorite memories is sitting beside Ouma as she carefully fed each dough sheet through the roller, her hands steady but patient, always reminding me to “treat the dough like it’s a living thing.” It’s that tenderness that truly makes the difference.
- Prep Time: 15 minutes
- Cook Time: 30 minutes
- Category: Main Dish
- Method: Cooking
- Cuisine: International