Ingredients
- 1 cup soy wax flakes (for a clean, slow burn)
- 1/4 cup coconut wax (to add creaminess and enhance fragrance)
- 2 tablespoons cocoa absolute or chocolate fragrance oil (for that rich brownie scent)
- 1 tablespoon vanilla essential oil (to deepen the aroma and add warmth)
- 1 teaspoon sandalwood essential oil (for grounding, balancing energy)
- Pre-waxed cotton or hemp wick (to ensure even burning)
- 4-ounce glass jar or tin container
- Small tumbled crystals such as amethyst, rose quartz, and smoky quartz (cleaned and charged beforehand)
- Double boiler or heat-safe bowl and saucepan
If you don’t have soy wax, beeswax is a lovely substitute, though it will have a slightly different scent profile and burn time. For fragrance oils, feel free to experiment with your favorite chocolate or dessert-inspired scents, but I recommend keeping sandalwood or another grounding essential to maintain that healing balance.
Instructions
- Prepare your workspace by cleaning the jar or tin and setting out your wick, waxes, oils, and crystals.
- Using a double boiler, gently melt the soy wax flakes and coconut wax together over medium heat, stirring occasionally until fully melted and smooth. This usually takes about 8–10 minutes.
- Remove the melted wax from heat and let it cool slightly for about 2 minutes, aiming for around 140°F, so your essential oils don’t burn.
- Add the cocoa absolute or chocolate fragrance oil, vanilla essential oil, and sandalwood essential oil to the melted wax. Stir gently but thoroughly for about 30 seconds to blend the scents evenly.
- Secure the wick in the center of your container. I like to wrap the wick around a pencil balanced across the jar to keep it straight while pouring.
- Pour the scented wax mixture slowly into the container, leaving about 1/2 inch of space at the top. Be careful not to disturb the wick.
- Place the cleaned and charged crystals gently on the surface of the wax or nestle them near the wick, depending on your container’s size. These crystals infuse the candle with healing energy as it burns.
- Allow the candle to cool and set at room temperature for 4–6 hours. Avoid moving it during this time to prevent cracks or uneven surfaces.
- Trim the wick to about 1/4 inch before lighting your candle.
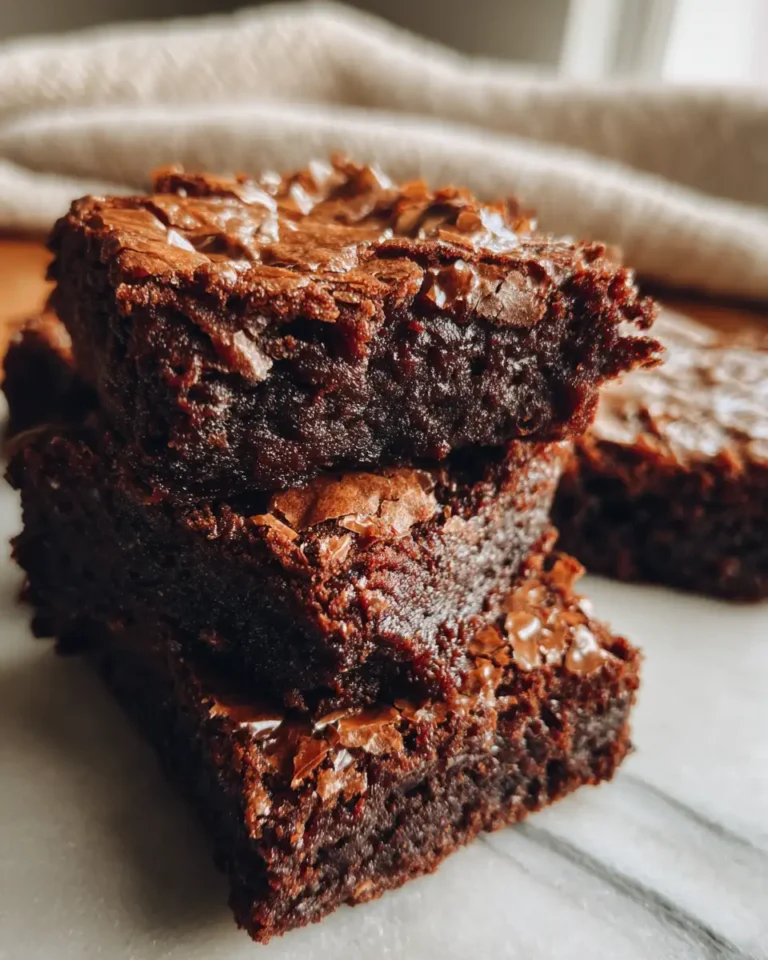
- Light your Killer Brownies Crystal Healing Candle and breathe in the warm, comforting aroma that brings back memories of Mama Lou’s kitchen and the loving moments shared with Ouma.
From my own experience, patience is key here. The scent’s richness deepens as the candle cures, usually after a couple of days. Lighting it for the first time can be a little like lighting a spark of nostalgia and calm all at once.
- Prep Time: 15 minutes
- Cook Time: 30 minutes
- Category: Main Dish
- Method: Cooking
- Cuisine: International

