Ingredients
Scale
Gathering the right ingredients is the first step toward creating a cake filled with love. Here’s what you’ll need to bring this birthday cake drawing to life:
- 2 cups all-purpose flour
- 1 ½ cups granulated sugar
- ½ cup unsalted butter, softened
- 1 cup whole milk
- 3 large eggs
- 2 ½ teaspoons baking powder
- 1 teaspoon vanilla extract
- ½ teaspoon salt
- 4 cups powdered sugar (for frosting)
- 1 cup unsalted butter, softened (for frosting)
- 2–4 tablespoons heavy cream (for frosting)
- Food coloring (optional, for birthday cake drawing)
Substitution suggestions: You can use almond milk instead of whole milk for a dairy-free version, and coconut oil can replace butter for a vegan option. And remember, the fun of decorating is in the hands of the creator—let your imagination run wild with colors!
Instructions
Now that you have your ingredients ready, let’s embark on this delightful journey of creating a birthday cake that will warm your heart and delight your guests.
- Preheat your oven to 350°F (175°C) and grease two 9-inch round cake pans. I always loved the sound of Mama Lou’s oven door, a symbol that magic was about to happen.
- In a large mixing bowl, cream together the softened butter and granulated sugar until light and fluffy, about 3-4 minutes. This is where the fragrance begins to fill your kitchen, just like the warmth of family gatherings.
- Add the eggs one at a time, mixing well after each addition, then stir in the vanilla extract. As you mix, you might even hear echoes of Ouma’s giggles as she danced around the kitchen.
- In another bowl, combine the flour, baking powder, and salt. Gradually add the dry ingredients to the wet mixture, alternating with the milk. Begin and end with dry ingredients, mixing until just combined. It’s important not to overmix; think of it as a gentle embrace of flavors.
- Divide the batter evenly between the prepared cake pans. If you want to add a bit of color for the drawing, this is the moment to swirl in some food coloring before baking!
- Bake in the preheated oven for 25-30 minutes, or until a toothpick inserted into the center comes out clean. The aroma will remind you of home.
- Once baked, allow the cakes to cool in the pans for 10 minutes before transferring them to a wire rack to cool completely. This is when you can start dreaming about the birthday cake drawing that will soon adorn your creation.
- For the frosting, beat the softened butter until creamy. Gradually add the powdered sugar, and then mix in the heavy cream until you reach your desired consistency. This frosting should be smooth and rich, perfect for creating a masterpiece on top of your cake.
- Once the cakes are completely cooled, place one layer on a serving plate. Spread a generous layer of frosting on top before adding the second layer. Use the remaining frosting to cover the top and sides of the cake.
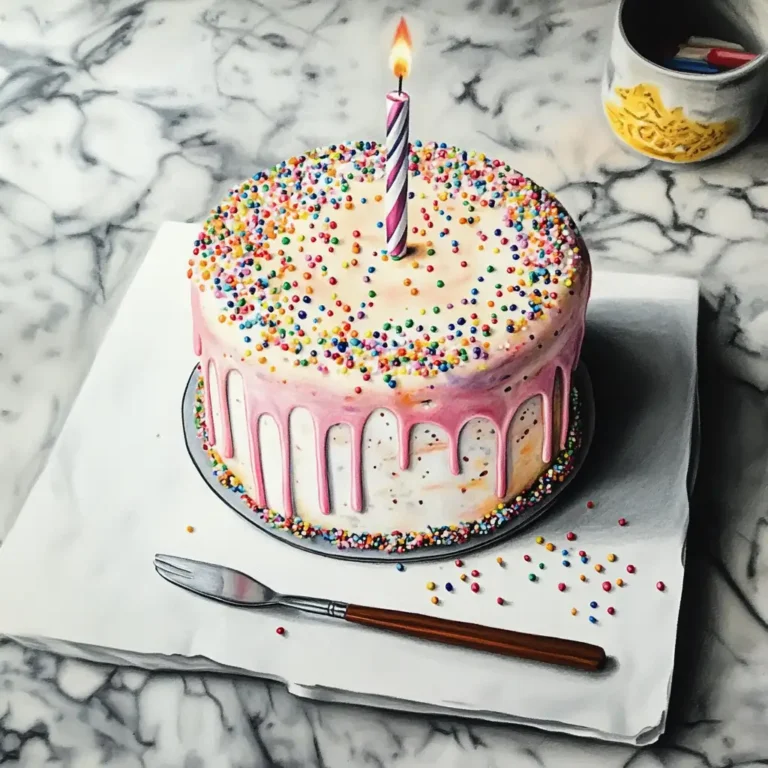
- Now comes the fun part! Use a piping bag or a spatula to create your birthday cake drawing on top. Whether it’s flowers, swirls, or something whimsical, let your creativity shine—just like those joyful moments spent with family.
- Prep Time: 15 minutes
- Cook Time: 30 minutes
- Category: Main Dish
- Method: Cooking
- Cuisine: International