
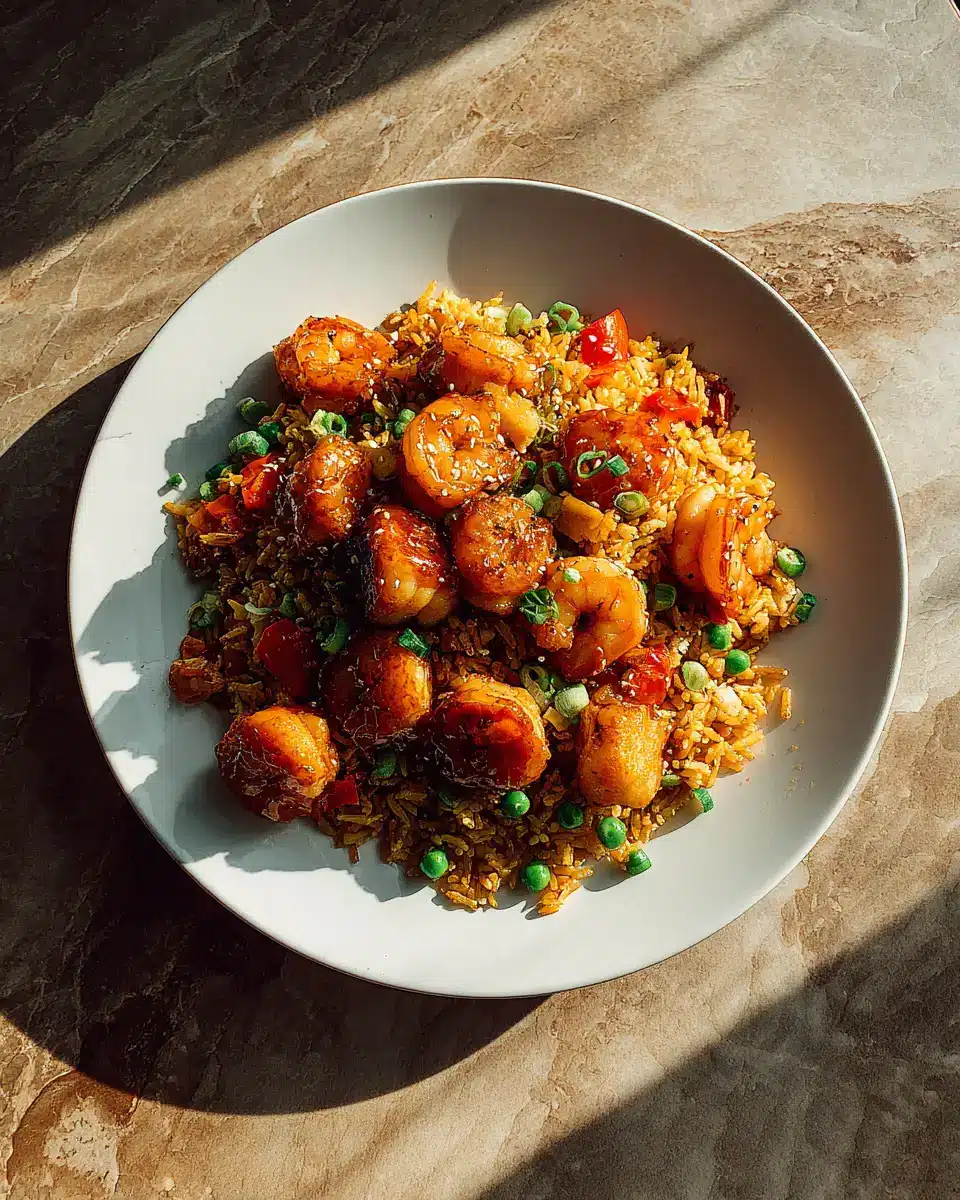
There’s something truly magical about the way Sticky Honey Chicken & Shrimp Fried Rice brings together flavors and memories in a single bowl. Growing up, my sister Ouma and I would eagerly watch Mama Lou in her kitchen, her hands moving deftly as she combined sweet, savory, and just a hint of spice into her dishes. This recipe is a tribute to those moments—warm, comforting, and full of love. It’s a dish that’s both quick enough for a weekday dinner and special enough to remind you of family gatherings around the old wooden table, laughter filling the air. Every bite takes me back to those afternoons with Mama Lou, where food was never just food—it was connection.
Table of Contents
Why You’ll Love This Sticky Honey Chicken & Shrimp Fried Rice
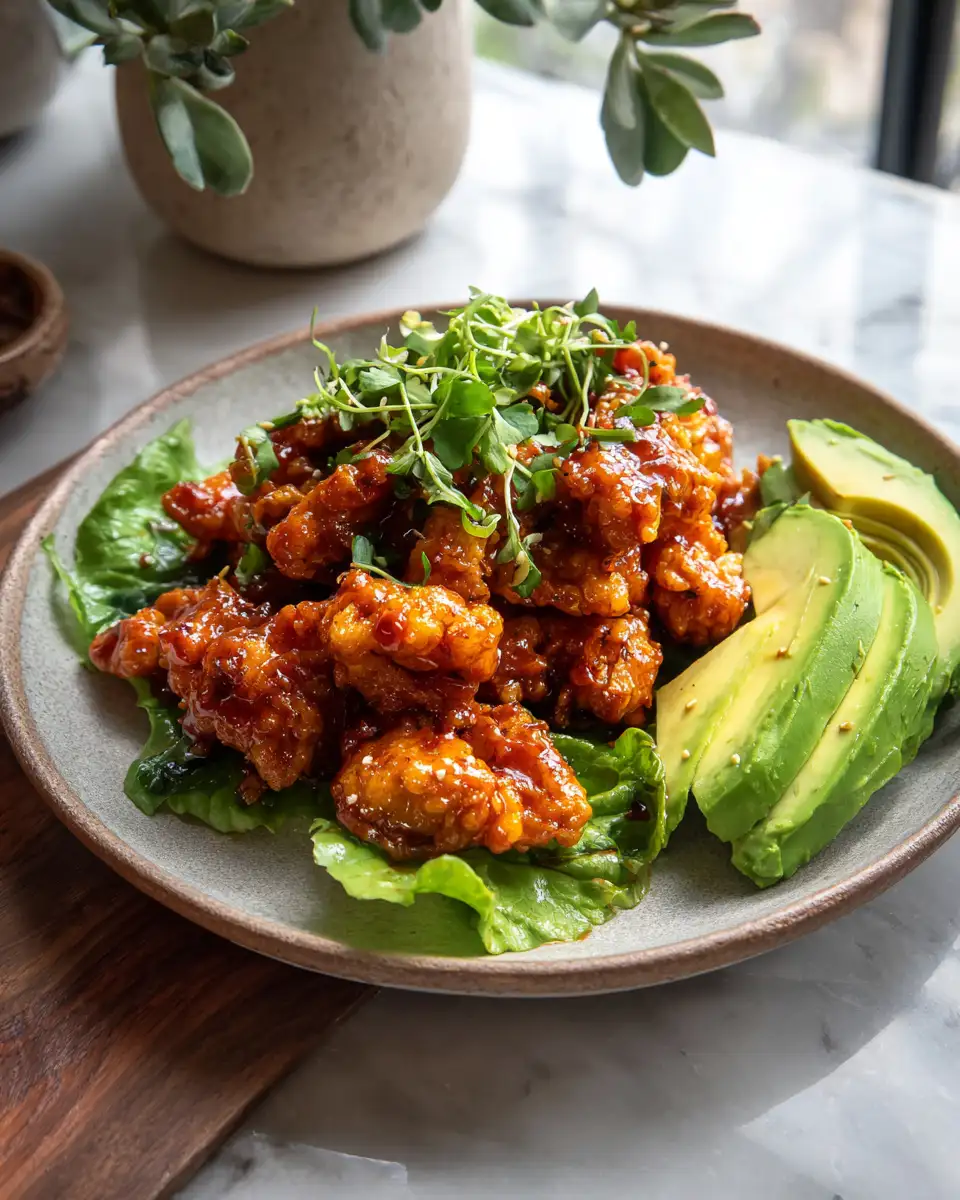
What makes this Sticky Honey Chicken & Shrimp Fried Rice stand out is the perfect balance of textures and flavors. The chicken is tender and coated with a glossy honey glaze that sticks just right, while the shrimp adds a delicate briny sweetness that complements the richness of the chicken. The fried rice itself is fluffy but with a slight crispness from the skillet, studded with fresh vegetables and a little bit of garlic that Mama Lou swore was the secret to bringing everything alive.
One of my fondest memories is when Ouma and I tried to surprise Mama Lou by making this dish ourselves. We ended up with a bit too much honey and a kitchen full of laughter as we adjusted on the fly. That’s the beauty of this recipe—it’s forgiving and flexible, letting you pour in your own love and creativity. Plus, it’s a one-pan wonder that saves you time without skimping on flavor.
Ingredients You’ll Need for This Sticky Honey Chicken & Shrimp Fried Rice

- 2 cups cooked jasmine rice, chilled (day-old rice works best)
- 1 pound boneless, skinless chicken thighs, cut into bite-sized pieces
- 1/2 pound medium shrimp, peeled and deveined
- 3 tablespoons honey (substitute with maple syrup for a different sweetness)
- 2 tablespoons soy sauce (or tamari for gluten-free)
- 1 tablespoon oyster sauce (optional, but adds depth)
- 2 tablespoons vegetable oil or peanut oil
- 3 garlic cloves, minced
- 1 small onion, finely diced
- 1 cup frozen peas and carrots, thawed
- 2 green onions, sliced thinly
- 1 large egg, beaten
- 1 teaspoon toasted sesame oil
- Salt and freshly ground black pepper to taste
Nutrition Facts
- Calories: 480 per serving (serves 4)
- Protein: 36g
- Fat: 14g
- Carbohydrates: 48g
- Fiber: 3g
- Sugar: 10g (from honey and natural vegetables)
- Sodium: 700mg (adjust soy sauce for lower sodium)

Irresistible Sticky Honey Chicken and Shrimp Fried Rice Recipe
Learn how to make delicious Sticky Honey Chicken & Shrimp Fried Rice. Easy recipe with step-by-step instructions.
- Total Time: 45 minutes
- Yield: 4 servings 1x
Ingredients
- 2 cups cooked jasmine rice, chilled (day-old rice works best)
- 1 pound boneless, skinless chicken thighs, cut into bite-sized pieces
- 1/2 pound medium shrimp, peeled and deveined
- 3 tablespoons honey (substitute with maple syrup for a different sweetness)
- 2 tablespoons soy sauce (or tamari for gluten-free)
- 1 tablespoon oyster sauce (optional, but adds depth)
- 2 tablespoons vegetable oil or peanut oil
- 3 garlic cloves, minced
- 1 small onion, finely diced
- 1 cup frozen peas and carrots, thawed
- 2 green onions, sliced thinly
- 1 large egg, beaten
- 1 teaspoon toasted sesame oil
- Salt and freshly ground black pepper to taste
Instructions
- Prepare your ingredients before starting—chop the chicken and shrimp, mince garlic, dice onion, and thaw peas and carrots. This mise en place step always reminds me of how Mama Lou would hum softly as she worked, keeping everything neat and ready.
- In a small bowl, whisk together honey, soy sauce, and oyster sauce until well combined. Set aside. This sticky glaze is the heart of the dish.
- Heat 1 tablespoon of vegetable oil in a large skillet or wok over medium-high heat. Add the chicken pieces and cook until golden brown and cooked through, about 5-6 minutes. Remove chicken from the pan and set aside. Cooking the chicken first ensures it stays juicy and tender.
- In the same pan, add the shrimp and cook for about 2 minutes on each side until they turn pink and opaque. Remove and set aside with the chicken. Shrimp cook quickly—watch them carefully to avoid rubbery bites.
- Add the remaining 1 tablespoon of oil to the pan. Toss in the garlic and onions, stirring until fragrant and translucent, about 2 minutes. This step releases the aroma that always brings me right back to Mama Lou’s kitchen.
- Push the garlic and onions to the side of the pan. Pour the beaten egg into the cleared space. Let it sit for a few seconds, then scramble gently until just cooked. This little addition adds richness and texture to the fried rice.
- Add the chilled rice, breaking up any clumps with your spatula. Stir everything together, mixing the rice with the garlic, onion, and scrambled egg. Make sure the rice gets a little bit crisp by letting it sit undisturbed for about 2 minutes before stirring again.
- Stir in the peas and carrots, then return the chicken and shrimp to the pan. Pour the honey-soy glaze over everything, stirring gently to coat all the ingredients evenly. Cook for another 2-3 minutes, allowing the sauce to thicken and become sticky.
- Remove from heat and drizzle with toasted sesame oil. Toss in sliced green onions for a fresh, vibrant finish. Taste and adjust seasoning with salt and pepper as needed.
- Serve immediately, preferably with a side of crisp cucumber slices or a light Asian-inspired salad. Watching Ouma and I dig into this dish with chopsticks always reminds me how food can bring siblings—and families—closer.
- Prep Time: 15 minutes
- Cook Time: 30 minutes
- Category: Main Dish
- Method: Cooking
- Cuisine: International
Steps to Create Your Sticky Honey Chicken & Shrimp Fried Rice
- Prepare your ingredients before starting—chop the chicken and shrimp, mince garlic, dice onion, and thaw peas and carrots. This mise en place step always reminds me of how Mama Lou would hum softly as she worked, keeping everything neat and ready.
- In a small bowl, whisk together honey, soy sauce, and oyster sauce until well combined. Set aside. This sticky glaze is the heart of the dish.
- Heat 1 tablespoon of vegetable oil in a large skillet or wok over medium-high heat. Add the chicken pieces and cook until golden brown and cooked through, about 5-6 minutes. Remove chicken from the pan and set aside. Cooking the chicken first ensures it stays juicy and tender.
- In the same pan, add the shrimp and cook for about 2 minutes on each side until they turn pink and opaque. Remove and set aside with the chicken. Shrimp cook quickly—watch them carefully to avoid rubbery bites.
- Add the remaining 1 tablespoon of oil to the pan. Toss in the garlic and onions, stirring until fragrant and translucent, about 2 minutes. This step releases the aroma that always brings me right back to Mama Lou’s kitchen.
- Push the garlic and onions to the side of the pan. Pour the beaten egg into the cleared space. Let it sit for a few seconds, then scramble gently until just cooked. This little addition adds richness and texture to the fried rice.
- Add the chilled rice, breaking up any clumps with your spatula. Stir everything together, mixing the rice with the garlic, onion, and scrambled egg. Make sure the rice gets a little bit crisp by letting it sit undisturbed for about 2 minutes before stirring again.
- Stir in the peas and carrots, then return the chicken and shrimp to the pan. Pour the honey-soy glaze over everything, stirring gently to coat all the ingredients evenly. Cook for another 2-3 minutes, allowing the sauce to thicken and become sticky.
- Remove from heat and drizzle with toasted sesame oil. Toss in sliced green onions for a fresh, vibrant finish. Taste and adjust seasoning with salt and pepper as needed.
- Serve immediately, preferably with a side of crisp cucumber slices or a light Asian-inspired salad. Watching Ouma and I dig into this dish with chopsticks always reminds me how food can bring siblings—and families—closer.
Tips for Making the Best Sticky Honey Chicken & Shrimp Fried Rice
One thing Mama Lou always emphasized was using day-old rice. Fresh rice is too moist and turns mushy when fried. If you’re short on time, spread freshly cooked rice on a baking sheet and chill it in the fridge for at least an hour to dry it out a bit.
Don’t overcrowd your pan. Cooking the chicken and shrimp in batches if needed keeps them from steaming and helps develop that beautiful golden color and texture. I remember Ouma teasing me about my impatience in the kitchen, but Mama Lou’s advice always stood—slow and steady wins the flavor race.
Adjust the honey quantity based on your sweetness preference. The sticky glaze should be balanced—not overpowering but just enough to coat the meat and rice with a glossy sheen.
Feel free to swap in other veggies like bell peppers, snap peas, or even baby corn. The key is keeping a mix of colors and textures, something Mama Lou always insisted made food not just taste better but look inviting. Learn more: Marry Me Chicken Pasta Recipe – Creamy & Irresistible
Serving Suggestions and Pairings

This Sticky Honey Chicken & Shrimp Fried Rice shines as a complete meal on its own, but I love pairing it with simple sides that bring freshness and crunch. A quick cucumber salad tossed with rice vinegar and a sprinkle of sesame seeds is a favorite. It cuts through the richness and adds a cooling contrast.
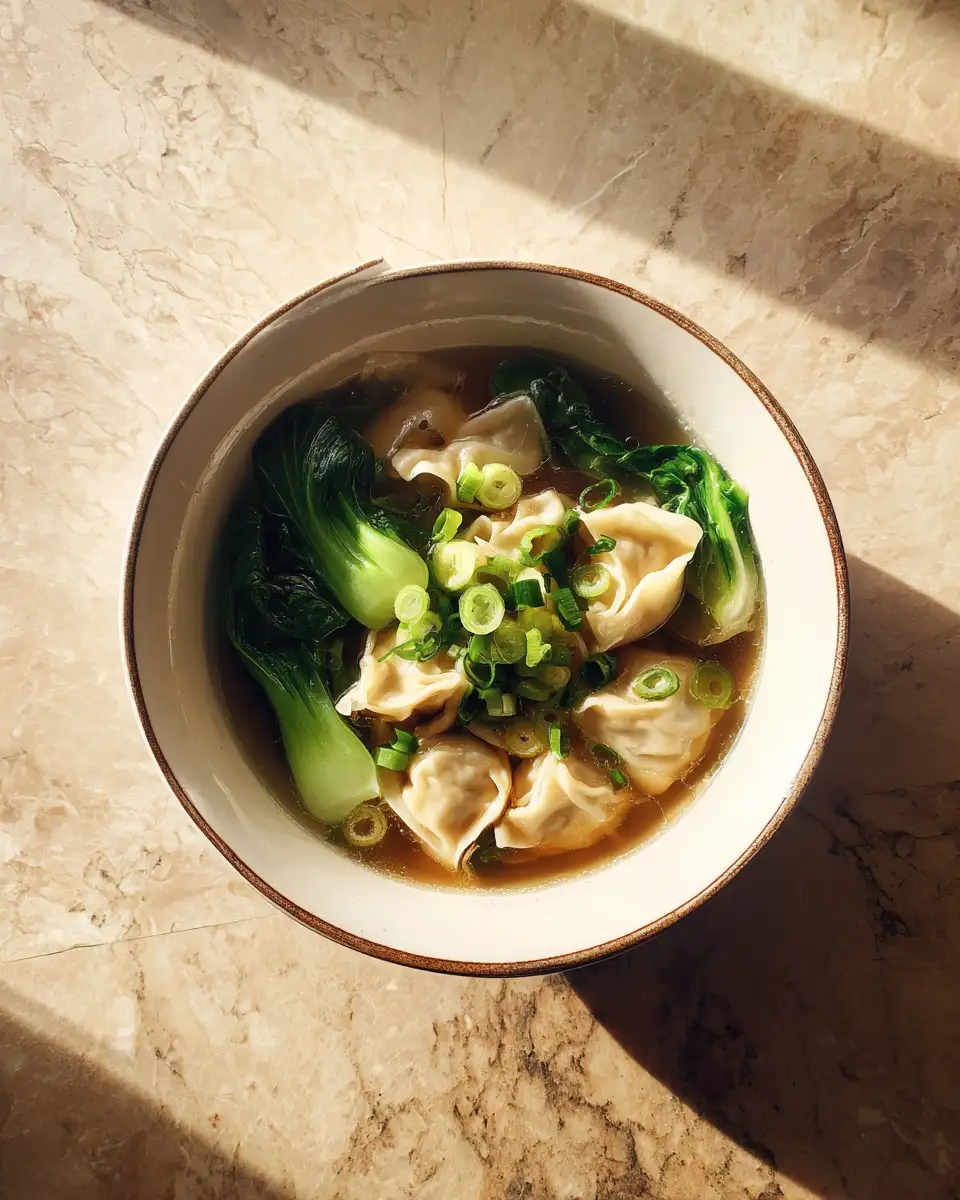
On special occasions, Mama Lou would serve this alongside steamed bok choy or sautéed green beans with garlic. Those green vegetables add a lovely earthiness and extra nutrients to the meal.
For drinks, something light and crisp like a jasmine tea or a chilled white wine complements the dish beautifully without overpowering the delicate honey notes.
Storage and Reheating Tips
Leftovers of this Sticky Honey Chicken & Shrimp Fried Rice store beautifully and are perfect for next-day lunches or quick dinners. Transfer to an airtight container and refrigerate for up to 3 days.
When reheating, I recommend warming it gently in a skillet over medium heat with a splash of water or broth. This helps to revive the moisture and prevents the rice from drying out. Microwave reheating works too—just cover the dish to trap steam and keep the rice fluffy.
One thing I learned from Mama Lou is that fried rice often tastes even better the next day. The flavors have time to meld, and the sticky honey glaze intensifies, making every bite even more satisfying.
Frequently Asked Questions
What are the main ingredients for Sticky Honey Chicken & Shrimp Fried Rice?
The main ingredients for Sticky Honey Chicken & Shrimp Fried Rice include the items listed in our ingredients section above. Each ingredient plays a crucial role in achieving the perfect flavor and texture.
How long does it take to make Sticky Honey Chicken & Shrimp Fried Rice?
The total time to make Sticky Honey Chicken & Shrimp Fried Rice includes both preparation and cooking time. Check the recipe card above for exact timing details.
Can I make Sticky Honey Chicken & Shrimp Fried Rice ahead of time?
Yes, Sticky Honey Chicken & Shrimp Fried Rice can often be prepared in advance. Store it properly in an airtight container in the refrigerator and consume within the recommended timeframe.
What can I serve with Sticky Honey Chicken & Shrimp Fried Rice?
Sticky Honey Chicken & Shrimp Fried Rice pairs well with various sides and accompaniments. Consider the serving suggestions mentioned in the recipe for the best dining experience.
Is Sticky Honey Chicken & Shrimp Fried Rice suitable for special diets?
Depending on the ingredients used, Sticky Honey Chicken & Shrimp Fried Rice may be adapted for various dietary needs. Check the ingredients list and consider substitutions as needed for your dietary requirements.
Final Thoughts
Cooking this Sticky Honey Chicken & Shrimp Fried Rice always brings a sense of warmth and nostalgia that’s hard to put into words. It’s not just about the honey glaze or the perfectly fried rice; it’s about the memories of Mama Lou’s kitchen, the laughter with my sister Ouma, and the simple joy of sharing good food with loved ones.
“Food is the language of love that Mama Lou spoke fluently, and this recipe is one of her sweetest expressions.”
Whether you’re new to cooking or a seasoned home chef, I hope this recipe invites you to slow down, savor the process, and create your own cherished memories. After all, the best meals are those that feed the soul as much as the body.